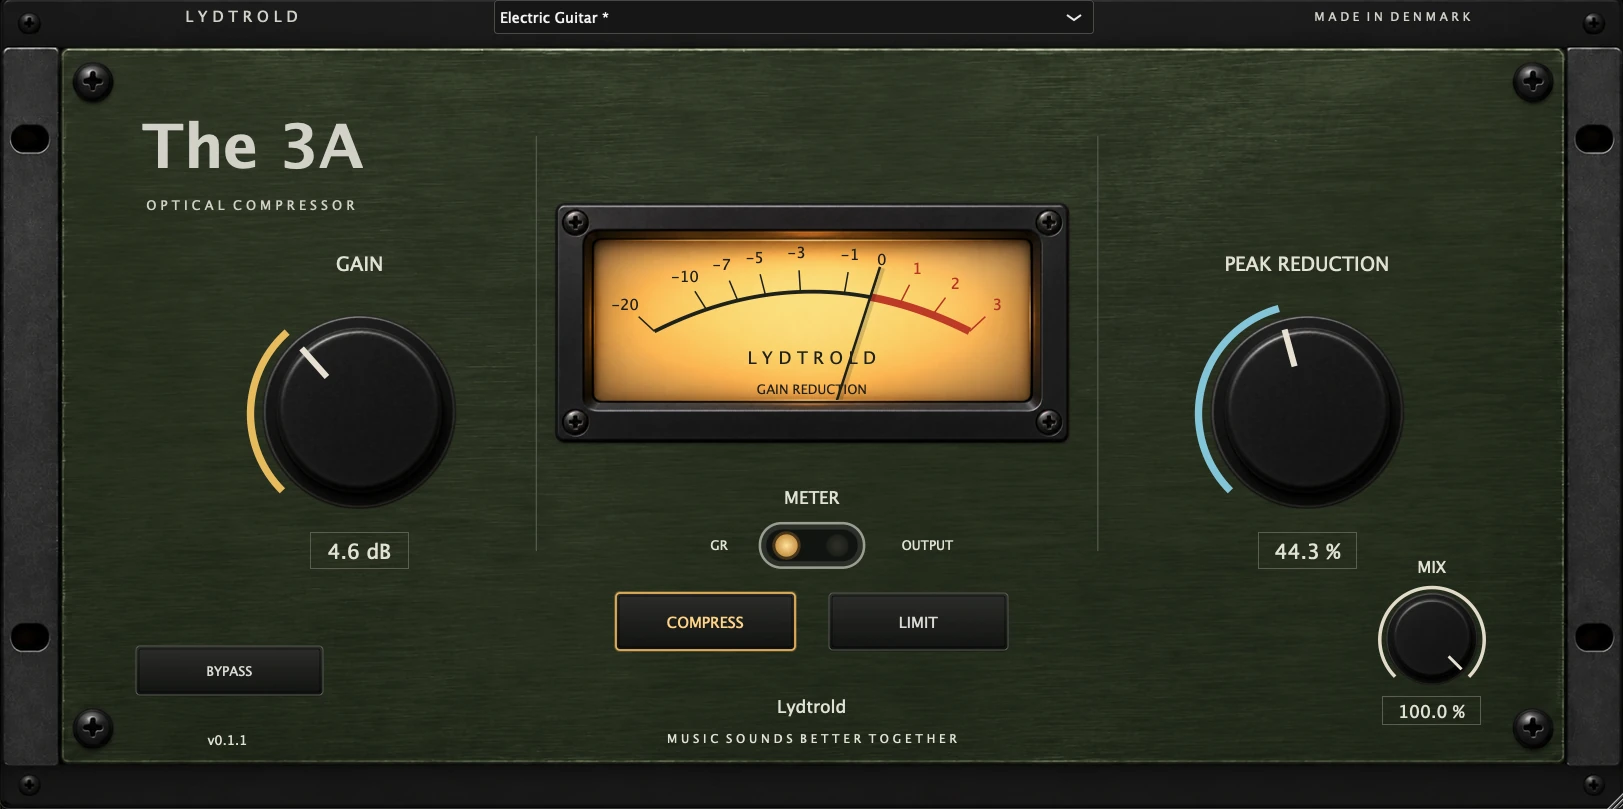
Low-latency monitoring depends on the whole signal path. A DSP plug-in label alone is not a guarantee of a particular round-trip latency.
Start with a simple signal path
Begin with the microphone input, one recording track and a known monitor destination. Check the clean signal before adding inserts. Avoid monitoring the same input through two paths at once, which can create a doubled or phasey sound.
Decide whether the performer needs processing only in the cue mix or whether you intend to print it. A track insert and an explicitly routed printed signal are different workflows; inspect your routing rather than assuming the recorded file contains the effect.
Add processing with a purpose
A practical starting chain is corrective EQ followed by gentle compression, with reverb on a separate send if the singer wants space. These are starting choices, not mandatory stages.
Use a compressor to steady large level changes without hiding the performance. Listen to the loudest phrase and quietest word. If the voice loses its attack or breathing becomes distracting, reduce the amount or revisit the timing controls.
Check the actual session
Verify that each insert intended to run on HDX is using a compatible AAX DSP version. Check available DSP resources and the latency reported by your session. Routing, converters, plug-ins and the host configuration all matter.
Test at the session’s intended sample rate and with the real routing. Do not assume that a chain which fits at one rate will use the same resources at another. Lydtrold AAX DSP plug-ins have not been tested at 192 kHz.
- Record a short test and listen back to the recorded file.
- Confirm what the performer hears versus what is printed.
- Save the working session before expanding the chain.
Keep the handoff predictable
If the project will move to another studio, note the plug-ins and versions you used. Keep an unprocessed recording when possible, and print a reference when the exact monitored sound matters.